If you are new to video editing on mobile, you may have heard about Alight Motion. It is one of the most popular animation and motion graphics apps available for smartphones. Many creators use it to make Instagram reels, YouTube shorts, gaming edits, and professional animations directly on their phones.
However, when you open the app for the first time, the screen may look confusing. There are many buttons, icons, and panels that beginners do not understand immediately. That is why learning about touring the interface and layout Alight Motion is very important before you start editing videos.
The interface of Alight Motion is designed to make editing easier once you understand where everything is located. From the project screen to the timeline and editing tools, each section has a specific purpose. When you learn how these parts work together, creating animations and motion graphics becomes simple and enjoyable.
In this guide, we will take a complete tour of the Alight Motion interface and layout. You will learn about the home screen, project workspace, timeline controls, editing panels, layer system, and export options. Each section will be explained in easy language so even beginners can understand it quickly.
By the end of this article, you will feel confident navigating the app and starting your own creative projects.
Understanding The Alight Motion Home Screen
When you first open the application, the home screen appears. This is the starting point for every project and an important part of touring the interface and layout Alight Motion.
The home screen is designed to help you manage your projects easily. At the center of the screen, you will usually see a list of your previous projects. If you have already created videos or animations, they will appear here so you can open them again and continue editing.
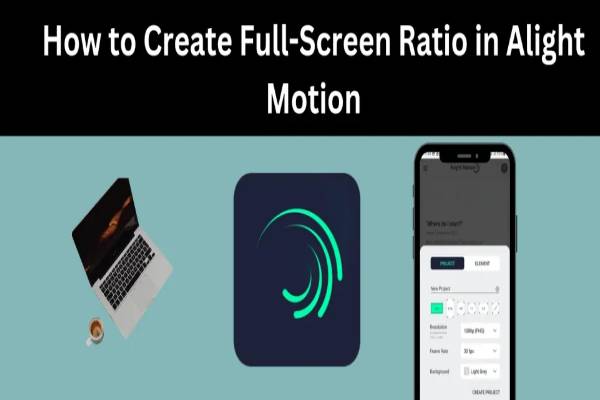
At the bottom of the screen, you will notice a plus (+) button. This button is one of the most important elements of the interface. When you press it, you can create a new project. After clicking the button, the app asks you to choose settings such as:
- Video resolution
- Frame rate
- Background color
- Project name
On the top side of the screen, you may also find menu options like settings, help, and sometimes account information. The settings section allows you to customize the application according to your needs.
Another useful part of the home screen is the templates or example projects. Some versions of the app show sample animations that beginners can study. These examples help new users understand how motion graphics work.
The home screen may look simple, but it plays a major role in organizing your work. Once you understand how to create and open projects here, the next step in touring the interface and layout Alight Motion is exploring the editing workspace.
Exploring The Project Workspace Interface
After creating a project, you will enter the project workspace. This is where most of the editing and animation work happens.
The workspace is divided into several important areas. Each section helps you control different parts of the video editing process.
At the center of the screen, you will see the preview window. This area shows how your video or animation looks while you are editing it. Whenever you add images, text, or effects, they appear here so you can see the result instantly.
Below the preview window is the timeline area. This section shows the duration of your video and the layers you add. You can move clips, adjust timing, and control animations here.
On the side of the workspace, you will find various editing tools. These tools allow you to add shapes, media files, text, and special effects to your project.
The workspace layout may seem complicated at first, but it becomes easy once you understand the function of each section. Everything is organized in a logical way so creators can focus on designing motion graphics instead of searching for tools.
Another useful feature in the workspace is the zoom control. This allows you to zoom in on the timeline for precise editing. If you want to adjust animations frame by frame, zooming in makes the process much easier.
Learning the workspace layout is a major step in mastering touring the interface and layout Alight Motion, because most creative work happens in this area.
Timeline And Layer Controls Explained
The timeline is one of the most powerful parts of the Alight Motion interface. Understanding it is essential when touring the interface and layout Alight Motion.
The timeline shows how your video is structured over time. Each element you add—such as images, videos, text, or shapes—appears as a layer in the timeline.
Layers work like stacked objects. The top layer appears in front, while the bottom layer appears behind. For example, if you place text above a background image, the text layer will be on top.
Each layer can be edited separately. You can change its position, duration, size, rotation, or animation without affecting other layers.
The timeline also includes a playhead, which is a vertical line showing the current position in the video. When you move the playhead, the preview window updates to show what the video looks like at that exact moment.
Another important feature is keyframes. Keyframes allow you to create animation by changing properties over time. For example, you can set one keyframe for the starting position of an object and another keyframe for the ending position. Alight Motion automatically creates the animation between them.
The timeline also allows you to:
- Transform tools
- Color adjustment
- Blending modes
- Motion blur
- Special effects
The transform tool allows you to move, rotate, or resize objects in your project. This is one of the most frequently used tools in the interface.
Color adjustment tools help you improve the appearance of your video. You can change brightness, contrast, saturation, and color balance to make your content look more attractive.
The effects library is another exciting part of the interface. It includes many built-in effects such as glow, blur, shadow, and distortion. These effects help create cinematic or creative visuals.
When touring the interface and layout Alight Motion, beginners often spend time exploring these effects because they make editing fun and creative.
You can also combine multiple effects on a single layer. This allows you to create unique visual styles that stand out on social media platforms.
Media Import And Asset Management
To create a good video, you need media files such as images, videos, music, and graphics. Alight Motion provides a simple way to manage these assets.
When you tap the add layer button, several options appear. You can add:
- Images from your gallery
- Video clips
- Audio files
- Shapes
- Text layers
This feature makes it easy to combine different types of media into one project.
Asset management is important when working on large projects. If you have many layers, organizing them properly helps keep the timeline clean and manageable.
You can rename layers, group them, or rearrange their order. This improves workflow and saves editing time.
Another useful feature is importing custom fonts or graphic elements. Many creators use this option to design unique titles and logos.
Understanding media management is an essential part of touring the interface and layout Alight Motion because it allows you to build complex projects with multiple elements.
Export Settings And Final Video Output
After finishing your project, the final step is exporting the video. The export option allows you to convert your project into a file that can be shared online.
When you press the export button, several settings appear. These include:
- Video resolution
- Frame rate
- Bitrate
- File format
Higher resolution provides better quality but may increase the file size. Many creators choose 1080p resolution for social media videos because it offers a good balance between quality and size.
Frame rate controls how smooth the video appears. A common setting is 30 frames per second, which works well for most projects.
Alight Motion also allows you to export animations as GIFs or image sequences. This feature is useful for designers who create motion graphics for websites.
Once the export process is complete, the video is saved to your phone gallery. From there, you can upload it to platforms like Instagram, YouTube, or TikTok.
Understanding export settings ensures that your final project looks professional and ready to share.