If you want to learn how to use Alight Motion in a very simple and easy way, then this article is perfect for you. Alight Motion is one of the most popular video-editing apps for mobile users. People use it to create motion graphics, smooth transitions, aesthetic edits, slow-motion videos, lyrical videos, and much more.
Understanding Alight Motion Interface
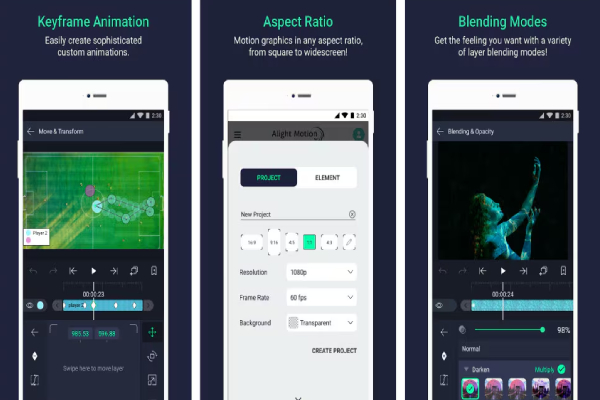
Before learning how to use Alight Motion, the first step is understanding its interface. When you open the app, you see a clean and simple dashboard that includes different buttons and options. This may look confusing at first, but once you know the purpose of each section, the editing process becomes very easy.
On the home screen, you will find the “+” (Create New Project) button. This is the main place to start editing. When you tap it, the app allows you to choose your video resolution, frame rate, background, and name of the project. For YouTube, people mostly use 1080p, and for Instagram reels or TikTok, 1080×1920 (vertical) is best.
Alight Motion uses a timeline-based interface, which means your video, audio, texts, and graphics appear in separate layers. Each layer can be edited individually without affecting others. This is one reason why Alight Motion feels professional even though it’s a mobile app.how to use Alight Motion.how to use Alight Motion
On Android, get it from the Google Play Store
On iOS, download it from the App Store
At the bottom, you will see the timeline where you control cuts, speed, transitions, and keyframes. Above it, there are tool icons such as:
- Move Tool
- Effect Tool
- Text Tool
- Shape Tool
- Media Import Tool
On the right side, you get the play button, undo/redo buttons, and the settings menu. On the left side, you see options for adjusting position, scale, rotation, opacity, etc.
One of the most important parts of the interface is the Keyframe Button. how to use Alight Motion Keyframes allow you to create animations like zoom, shake, rotate, bounce, and smooth motion effects. This is the heart of Alight Motion editing.
Once you understand where everything is located, you can work faster and more confidently. The interface may look complex at first, but after a few projects, it becomes super easy. Most beginners learn the interface within a day because the app is designed for simple navigation.
In short, understanding the interface is the foundation of learning how to use Alight Motion.
Creating Your First New Project
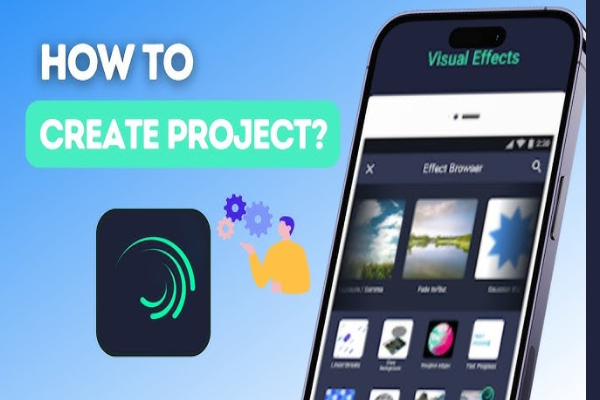
To fully understand how to use Alight Motion, you must learn how to create your first project correctly. Many beginners make mistakes with size or resolution, which affects video quality later. So let’s go step by step.
When you click the “+ New Project” button, you see some important settings:
- Resolution
This controls the clarity of your video.
Common choices include:
- 720p – For small projects
- 1080p – Best for reels/YouTube
- 4K – Only if your phone supports it
- Aspect Ratio
Choose based on where you will upload:
- 16:9 for YouTube
- 9:16 for Instagram Reels/TikTok
- 1:1 for Square videos
- Frame Rate
A higher FPS makes videos smoother. Options include:
- 24 FPS – Normal
- 30 FPS – Standard
- 60 FPS – Smooth animation
- Background
Choose black, white, or transparent.
Transparent background is great for motion graphics.
After setting this up, tap Create Project.
Now you enter the editing area. The first thing you should do is import your media. Tap the Media button and select videos or images from your gallery. Alight Motion allows multiple files in one project, which is great for detailed edits.
You can arrange clips on the timeline by dragging them. To trim a clip, just hold and drag the edges. To cut a section, use the scissor tool.
You can also add audio by selecting the Audio import option. Alight Motion supports MP3, M4A, and other common formats.
Once everything is placed on the timeline, you are ready to start editing. This is where real creativity begins. You can adjust video color, brightness, contrast, or saturation using the Color & Light options.
Creating your first project is simple and helps you understand the workflow. The more projects you create, the faster you learn how to use Alight Motion effectively.
Adding and Editing Motion Effects
One major reason people want to learn how to use Alight Motion is because of its amazing motion effects. You can create transitions, shakes, zooms, spins, and many advanced animations with just a few taps. Let’s learn how to add and edit them.
Using Keyframes
Keyframes are the backbone of all animations in Alight Motion. They help move an object from one point to another over time.
To add a keyframe:
- Select the layer (image, text, or video).
- Move the timeline cursor to the starting point.
- Tap the Keyframe icon.
- Adjust position, scale, rotation, or opacity.
- Move the cursor again and adjust settings.
Alight Motion will automatically create a smooth animation between the two points.
Popular Motion Effects You Can Use
Alight Motion includes many built-in effects:
- Motion Blur
- Shake
- Wipe Transition
- Zoom In/Out
- Distortion
- Oscillate
- Turbulence
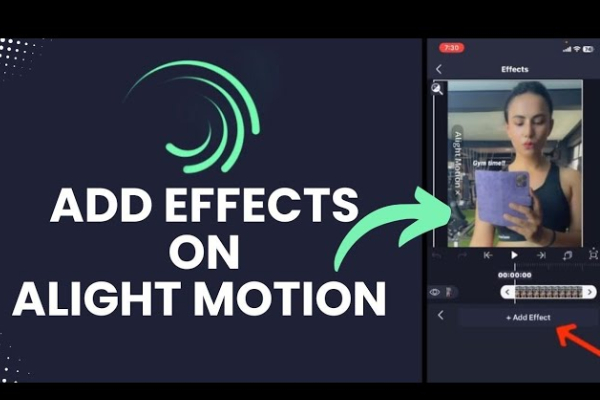
Tap Effects > Add Effect to see the full list.
Creating Smooth Transitions
Transitions between clips make videos look professional. To create them:
- Select first clip.
- Add a zoom-out keyframe.
- Select second clip.
- Add a zoom-in keyframe.
- Adjust easing for smoothness.
For even smoother motion, use Easing Curves like:
- Ease In
- Ease Out
- Ease In & Out
Camera Shake
To add shake:
- Select your clip
- Go to Effects
- Choose Shake
- Adjust Intensity and Frequency
The shake effect is often used in beat-sync edits or action scenes.
Custom Effects
You can combine multiple effects to create your own style. For example:
- Add Motion Blur + Bounce for energetic edits
- Add Color Shift + Distortion for aesthetic edits
- Add Zoom + Spin for dynamic transitions
Motion effects make your video alive. With practice, you can create professional-quality animations easily.
Working With Text and Typography
Text is a very important part of video editing, especially if you make lyrical videos, quotes, reels, or intro animations. Learning how to use Alight Motion for text editing gives your videos a polished look.
Adding Text
- To add text:
- Tap “Text”
- Type your text
- Choose font, size, and style
Alight Motion also supports custom fonts, so you can import unique typography for your designs.
Editing Text Style
- You can adjust:
- Color
- Stroke
- Shadow
- Spacing
- Alignment
- Bold/Italic
These styling tools help you create attractive titles and captions.
Text Animation
This is where Alight Motion becomes powerful. You can animate text using:
- Keyframes
- Text presets
- Text effects
Common animations include:
- Fade In/Out
- Slide In
- Typewriter Effect
- Bounce
- Shake
- Flip
Lyrical Video Editing
Alight Motion is widely used for lyrical videos. You can sync words with music beats by splitting text into small parts and animating each one separately.
Text Masking
Masking allows text to appear inside a video or image.
Steps:
- Add text
- Add video
- Move video above the text layer
- Use Mask & Group
- Now the video plays inside your text.
3D Text Effects
By combining perspective and shadow effects, you can make your text look 3D.
Working with text opens endless creative possibilities. Once you master typography in Alight Motion, your videos will look significantly more appealing and professional.
Exporting Your Edited Video Properly
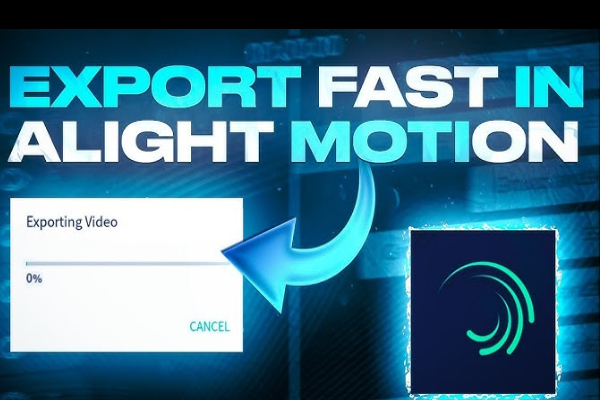
After learning how to use Alight Motion for editing, the final and most important step is exporting. If you choose the wrong settings, your video may become blurry, pixelated, or low quality. So choosing the best export settings is essential.
Where to Find Export Settings
After finishing your edit:
- Tap Export (top-right corner)
- Choose format
- Adjust quality settings
Available Export Options
Alight Motion allows export in:
- Video (MP4)
- GIF
- PNG Sequence
- JPEG Sequence
- Project Package
For normal videos, always choose MP4.
Best Export Settings for High Quality
Here are recommended settings:
- Resolution: 1080p
- Frame Rate: Same as project
- Bitrate: 10–20 Mbps
- Format: H.264
- Quality: High
If you want smaller size:
- Reduce bitrate to 6–8 Mbps
Avoiding Watermark
If you use the free version, videos may have a watermark.
To remove it:
- Upgrade to premium
OR - Sometimes watch ads to remove watermark for one export (if available).
Exporting Without Lag
If your phone struggles:
- Close other apps
- Reduce project effects
- Clear cache
Fixing Export Errors
If you face failed exports:
- Restart Alight Motion
- Reduce resolution
- Check storage space
Saving in the Right Folder
After export, choose where to store:
- Internal storage
- SD card
- Cloud storage
Good exporting gives your final video a smooth, clean, and high-quality look.